
Are you looking for a widget that will let you add Testimonial Designs to your WordPress website? But you don’t know the procedure? You no longer need to worry about adding a Testimonial Widget in Elementor because in this article we will teach you everything you need to know.
What is the use of the Testimonial Widget in Elementor?
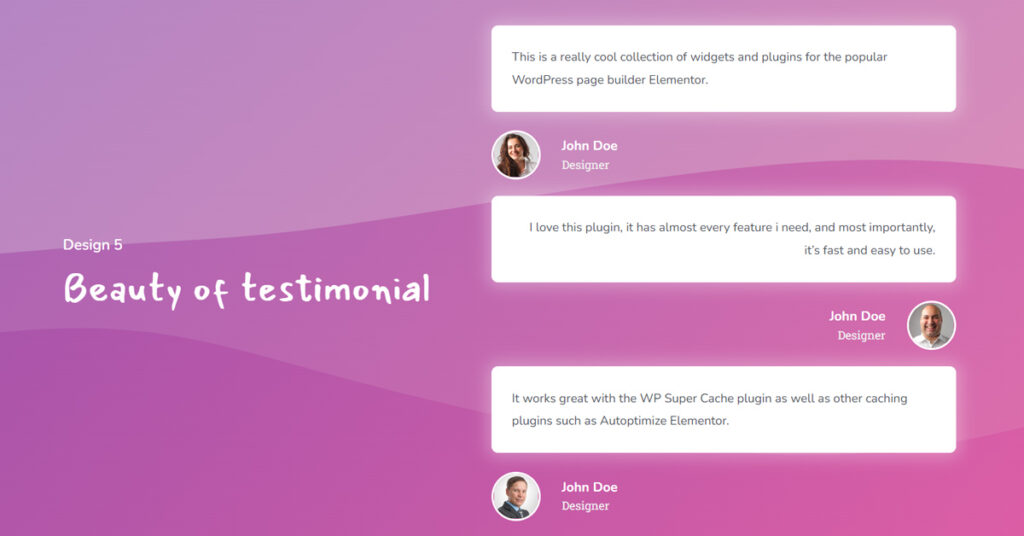
A Testimonial widget is an essential element of a website that displays user’s reviews. Testimonial is a great way to connect with your clients. You may quickly and easily show it in a unique and room-consuming style. You may also design the testimonials part of your website to make it more user-friendly and attract more visitors.
The most important technique to provide social proof to your website is through testimonials. You can manually enter clients’ information, such as feedback, job title, and photo, and add as many testimonials as you like with the Sky Addons Testimonial Widget for Elementor.
Sky Addons offers a variety of skin kinds for their Testimonial widget. All possible content positioning choices were covered by these skin types. By selecting the appropriate skin type for content placement, you may decide where to position an image, whether you want it above the text or to the left, right, or bottom.
In this article, you will know How to use Sky Addons Testimonial Widget
Step 1
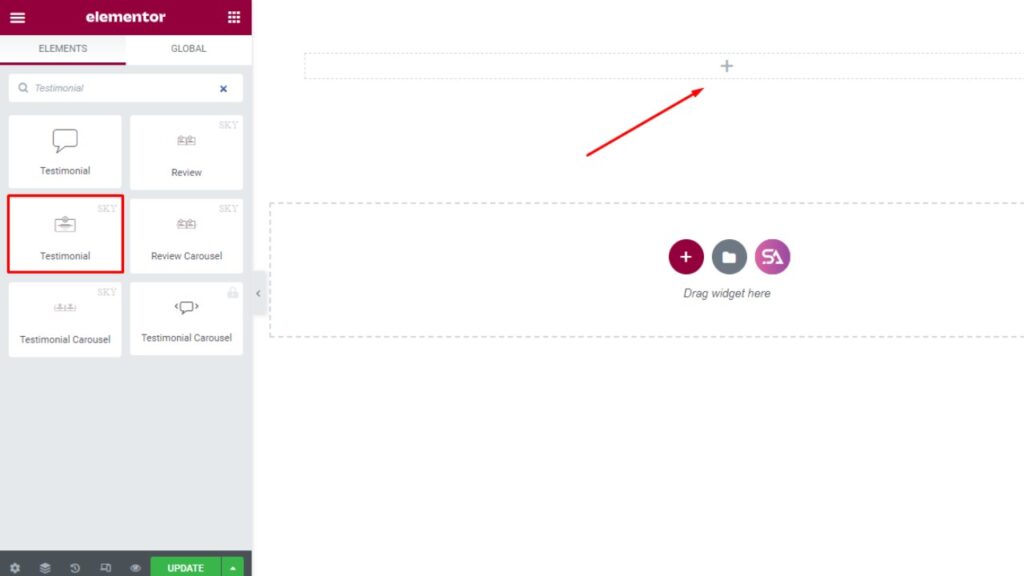
To add a Testimonial Widget, first, open up a page with Elementor editor and create a section by clicking on the “+” icon.
Then from the Editor Panel Search for the Testimonial widget. Now simply Drag the testimonial widget and drop it into your created section.
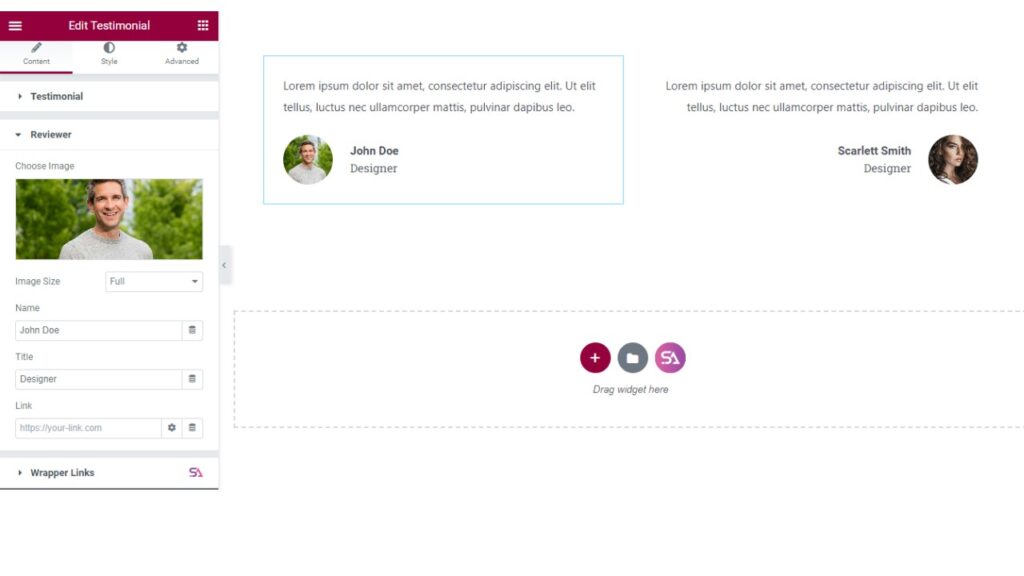
Click on the Content Tab. The content tab consists of Testimonial and Reviewer sections.
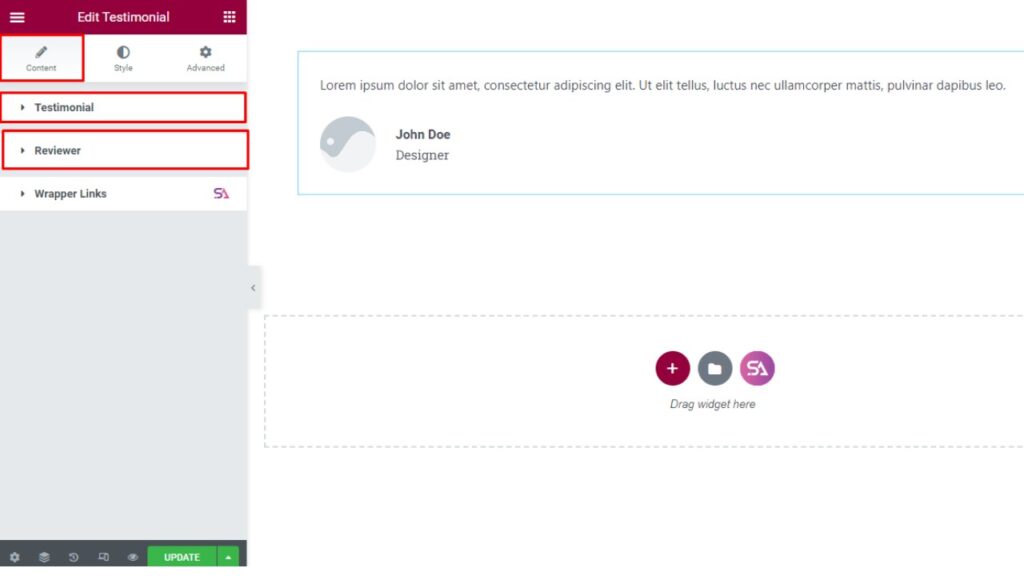
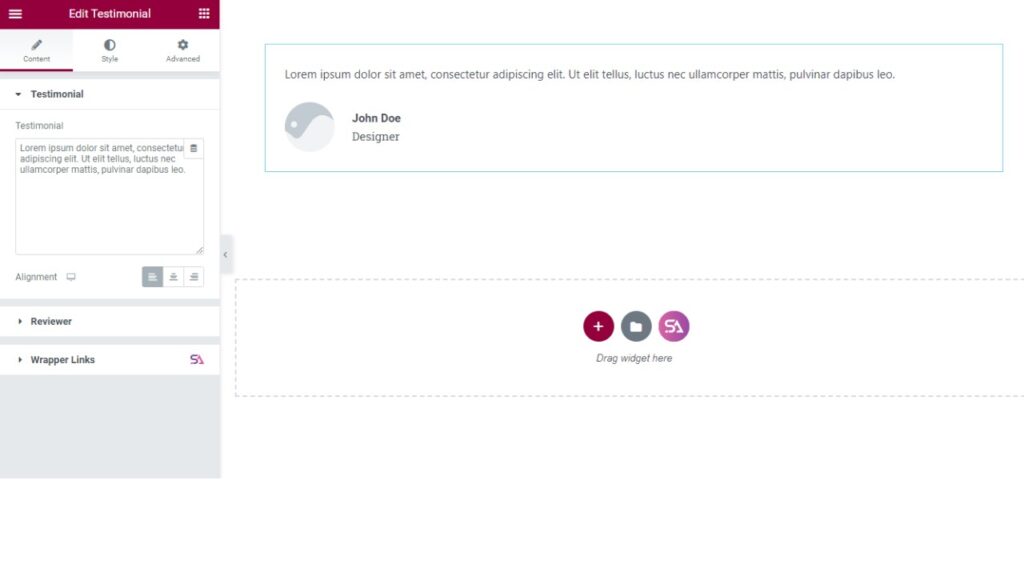
In the Testimonial section, you can edit the content of the testimonial and set the alignment to left, right, or center.
The Reviewer section allows you to add an image and set the image size of the reviewer. You will be able to change the name, title, and set the image position and alignment. according to your choice
Step 2
Now we move to the Style Tab. Under the Style Tab, you will find the Testimonial, Image, and Reviewer sections.
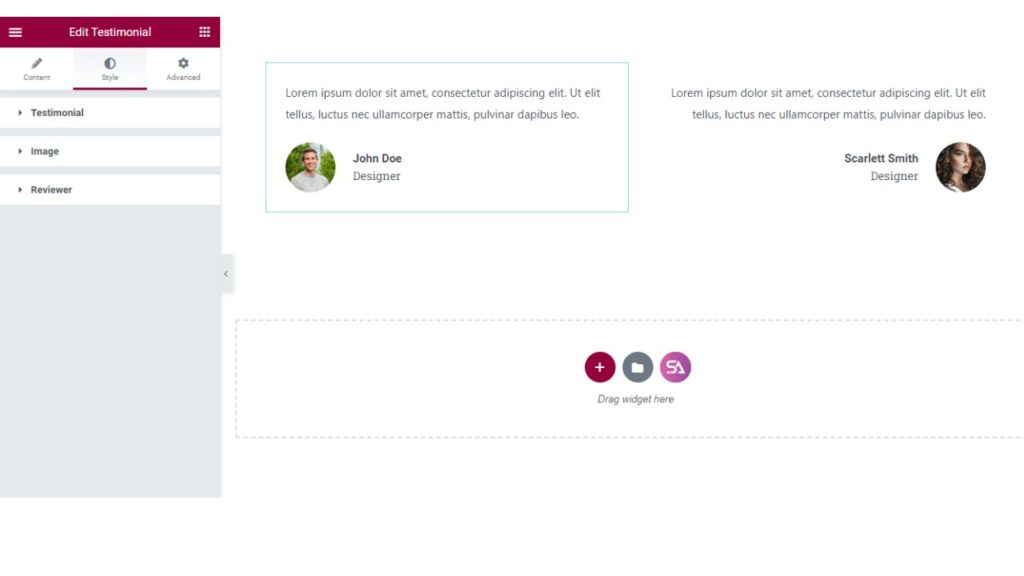
From the ‘Testimonial’ section, you will be able to add text color and set the typography.
In typography, you can select font family, font size, font color, letter spacing, and line height. You can also select the background type, use an image as background in the testimonial, and many more.

The Image Section will allow you to set the image size and add a border to the image. You can add border type, adjust border width, border-radius, and choose the border color.
You will also get an option for using an advanced Border radius, by using this you can increase the beauty of your testimonial.

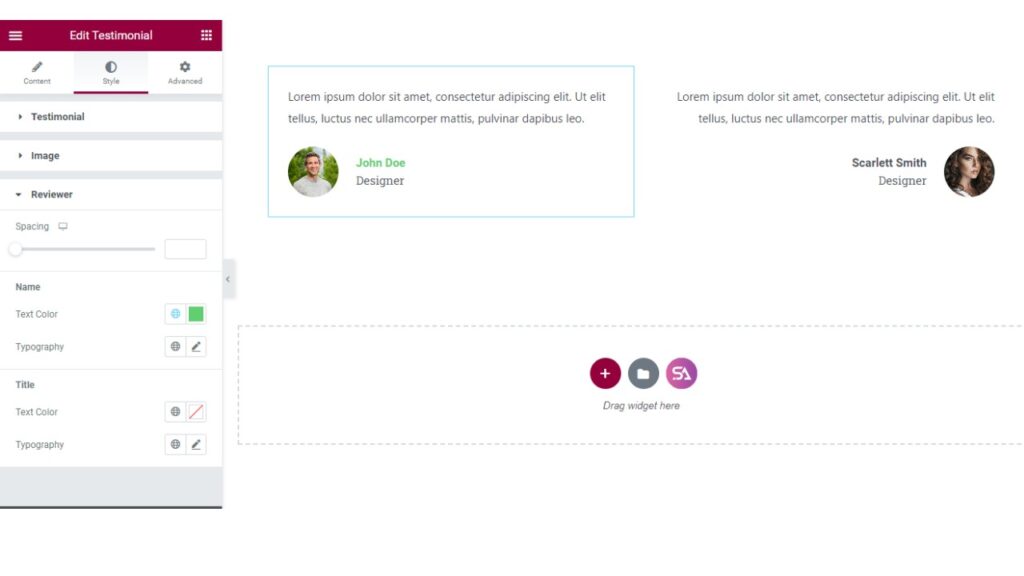
In the ‘Reviewer’ section, if you want you can add spacing. Change the reviewer’s name and title text color, typography, etc.
Finally, we want to say that,
One of the best Elementor Addons is Sky Addons, so give it a try if you want to give your testimonial area more capabilities.
Don’t forget to check our demo – https://demo.skyaddons.com/elementor-testimonial-widget/
If you have any questions feel free to contact us – https://wowdevs.com/support/